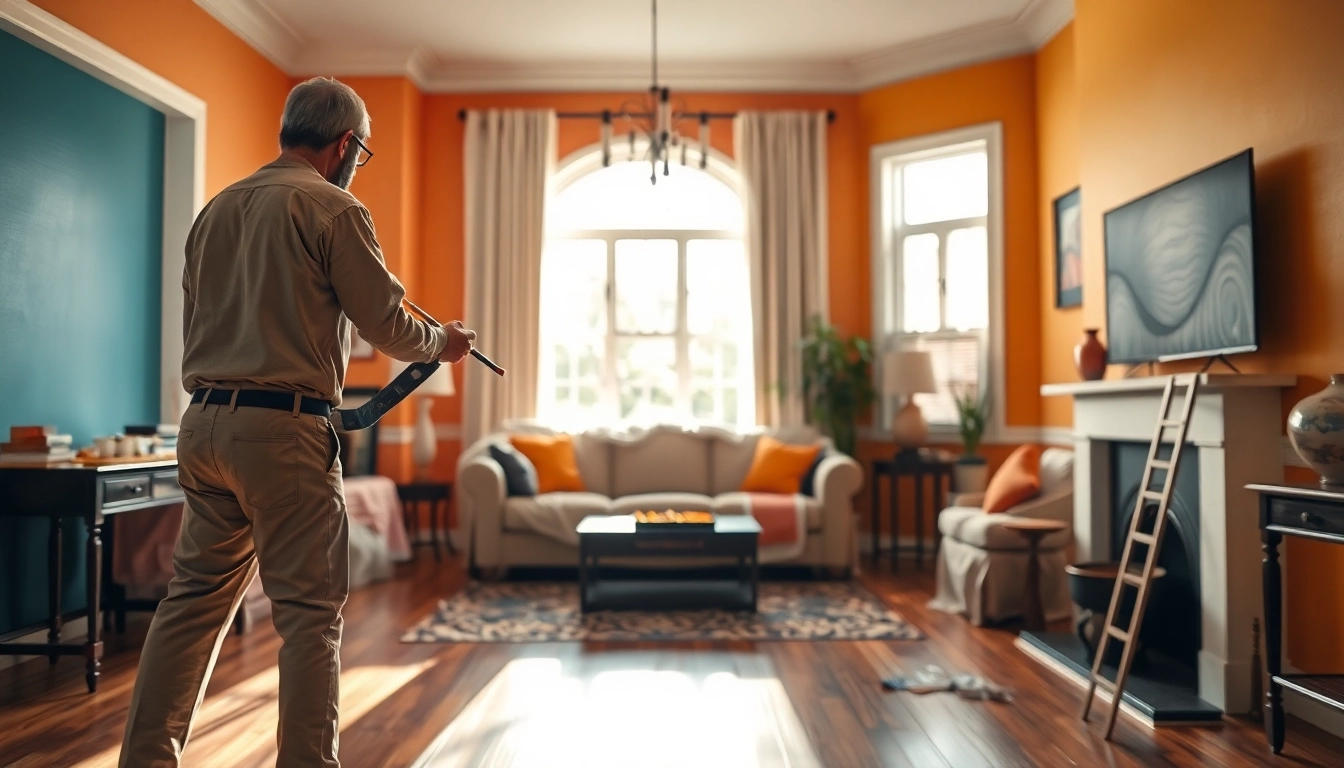
Understanding Interior Painting: The Basics
Interior painting is more than just applying a fresh coat of color to your walls; it’s an opportunity to transform your living space, enhance aesthetics, and even increase property value. Knowing the fundamentals of interior painting can help you achieve the best results, whether it’s a DIY project or hiring a professional.
What is Interior Painting?
Interior painting involves the process of applying paint to the interior surfaces of a structure, including walls, ceilings, and other surfaces such as trim and cabinetry. This can be done for aesthetic purposes, protection against wear and tear, or to prepare a space for new tenants or owners. Understanding different painting techniques and types improves the quality of work and overall appearance of the interior.
Types of Interior Paint
Choosing the right type of paint is essential for achieving the desired finish and durability. Here are the primary types of paints used in interior painting:
- Latex Paint: Water-based, quick-drying, and easy to clean. Ideal for walls and ceilings.
- Oil-Based Paint: Provides a smooth, durable finish and is excellent for high-traffic areas, though it requires a longer drying time.
- Acrylic Paint: Versatile and suitable for various surfaces, offering durability and vibrant color. It’s also quick to dry.
- Specialty Paints: Includes types like chalkboard or magnetic paints, allowing for creative applications.
Common Tools for Interior Painting
No painting project can succeed without the right tools. The following are essential tools for anyone engaged in interior painting:
- Paintbrushes: Ideal for smaller areas and corners. Different sizes will help in various applications.
- Paint Rollers: Suitable for larger surfaces, allowing for quick coverage with a smooth finish.
- Paint Trays: Used for pouring paint and loading brushes or rollers.
- Drop Cloths: Essential for protecting floors and furniture from paint splatters.
- Tape: Painter’s tape ensures clean lines and prevents paint from reaching unwanted areas.
Preparing for Your Interior Painting Project
Proper preparation is crucial to the success of any painting project. This phase involves planning, selecting colors, and prepping surfaces to ensure your paint adheres well and looks good.
How to Choose the Right Colors
Selecting the correct color palette for your interior can drastically influence the mood and aesthetic of your space. Here are a few tips:
- Consider the Space’s Purpose: For example, cool colors like blues and greens promote relaxation, making them suitable for bedrooms.
- Test Samples: Always sample paint colors in your actual space to see how they look in different lighting conditions throughout the day.
- Use Color Theory: Familiarize yourself with color wheel basics. Complementary colors can enhance the aesthetic appeal when used together.
Essential Steps for Surface Preparation
Before any paint is applied, the surfaces need to be prepared to ensure the best adherence and finish. This includes:
- Cleaning the surfaces to remove dust or grease.
- Repairing any holes or cracks with spackle or joint compound.
- Sanding the surfaces where necessary for a smooth finish.
- Applying primer, especially on new drywall or heavily stained surfaces, to ensure even color and improved adhesion.
Planning Your Painting Schedule
Having a clear plan will help keep your project organized and on track. Here are some considerations:
- Breaking Down the Job: Create a schedule that breaks the project into manageable sections, such as one room or even one wall at a time.
- Weather Conditions: Be mindful of humidity and temperature, as they can affect drying times and the final look of the paint.
- Time Management: Allocate enough time for each step, including drying time, to avoid rush jobs that could compromise quality.
Best Techniques for Interior Painting
Different techniques can achieve varying effects and finishes in interior painting. Understanding these methods can greatly enhance your painting skills.
Roller vs. Brush: Which to Use?
Choosing between rollers and brushes depends on the surface area and detail required. Here’s a breakdown of when to use each:
- Brushes: Best for edges, corners, and detailed work. Use them for tasks like painting trim or when applying a high-gloss finish.
- Rollers: Ideal for large, flat areas. They cover more space quickly and leave fewer brush strokes.
Layering Techniques for Depth and Texture
Creating a rich and interesting wall may involve layering techniques, such as:
- Dry Brushing: Lightly coating a surface with a loaded brush for a textured effect.
- Sponging: Using a sponge to apply or remove paint can create a unique texture.
- Ombre Effect: Blending several colors on a wall can create a beautiful gradient effect.
Using Tape for Sharp Edges and Clean Lines
Using painter’s tape effectively is crucial for achieving clean, sharp edges. Here’s how:
- Apply tape meticulously along edges you do not want to paint.
- Press down the edges firmly to prevent paint bleed-through.
- Remove the tape while the paint is still slightly wet for the cleanest lines.
Cost Considerations for Interior Painting
Understanding the financial implications of interior painting is essential for budget planning. Costs can vary widely based on multiple factors.
Average Costs for Various Rooms
The average cost of painting different rooms can range significantly based on size, paint type, and complexity. Below are estimates based on room size:
- Bathroom (20 – 100 sq.ft.): $60 – $400
- Bedroom (200 – 310 sq.ft.): $600 – $1,240
- Kitchen (200 – 360 sq.ft.): $600 – $1,320
- Living Room (300 – 400 sq.ft.): $900 – $1,600
DIY vs. Hiring Professionals
This decision significantly affects the overall cost. While DIY can save money, hiring professionals ensures quality work, especially for complex projects. Consider:
- Skills and Time: Assess whether you have the necessary skills and time to do it yourself.
- Quality of Finish: Professionals can provide a more polished and durable finish due to their experience and tools.
- Long-Term Costs: Poor DIY work can lead to costs down the line; sometimes, it’s worth investing in experts.
Tips to Budget Your Project Effectively
Budgeting for an interior painting job involves more than just factoring in paint costs. Here are some tips:
- Get estimates from several painters to compare prices and services.
- Factor in all supplies needed, including brushes, rollers, and drop cloths.
- Set aside extra funds for unexpected complications, such as severe wall damage that needs repair before painting.
Post-Painting Care and Maintenance
The work doesn’t end once the paint dries. Proper care and maintenance can prolong the beauty and lifespan of your paint job.
How to Maintain Your Newly Painted Walls
Maintaining your painted walls involves regular cleaning and touch-ups. Here’s how:
- Dusting: Regularly dust surfaces to prevent the buildup of dirt.
- Spot Cleaning: Use a damp cloth to gently clean stains, avoiding harsh chemicals that might damage paint.
- Touch-Ups: Store extra paint for quick repairs on scuffed or chipped areas.
Best Practices for Cleaning Painting Tools
Cleaning tools properly after a painting job will help them last longer and ensure quality results in the future:
- Wash brushes and rollers thoroughly in warm soapy water for latex paint and mineral spirits for oil-based paint.
- Store brushes correctly to avoid damaging the bristles; hang or lay flat.
- Keep paint trays clean for future use to avoid cross-contamination of colors.
When to Consider a Touch-Up or Full Repaint
Deciding when to repaint can be subjective, but keep these points in mind:
- Touch up areas where paint has chipped or faded significantly; often, it’s best to use the same paint (and batch) for consistency.
- Consider repainting in a room that feels outdated or doesn’t match your current style. A new color can refresh the space.
- If the paint is peeling, bubbling, or moldy, a full repaint is necessary to protect the underlying structure.